Upgrade Oracle Database From 11.2.0.4 to 12.1.0.2 Using DBUA Method

Description:-
There are different ways of upgrading to the latest release of Oracle database and Oracle provides multiple methods to upgrade. Few are listed below:
- Database Upgrade Assistant (DBUA)
- Manual Upgrade
- Transportable Tablespaces
- Datapump export/import
- Oracle Streams
- Oracle GoldenGate
Here I am going to choose DBUA to upgrade my database,
Oracle Database Version: Oracle Database 11gR2 (11.2.0.4) (64-bit)
Operating System: Oracle Enterprise Linux 6.4 (64-bit)
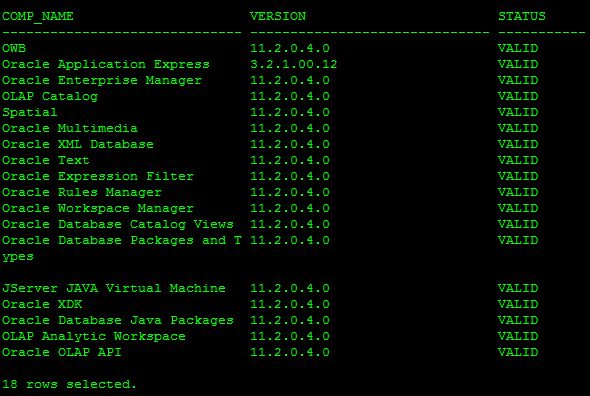
Step 1:- Check the registry for the 11g database.
SELECT COMP_NAME , VERSION, STATUS FROM DBA_REGISTRY;
Step 2:- Check the invalid for the database before upgrading to 12c.
SELECT DISTINCT OBJECT_NAME,OBJECT_TYPE,OWNER FROM DBA_OBJECTS WHERE STATUS=’INVALID’

Step 3:- Make the directory to install Oracle binaries.Unzip the software of 12c to install Oracle binaries
![]()
Installation of ORACLE HOME for release 12.1.0.2:-
Step 4:- Set DISPLAY and run the ./runInstaller

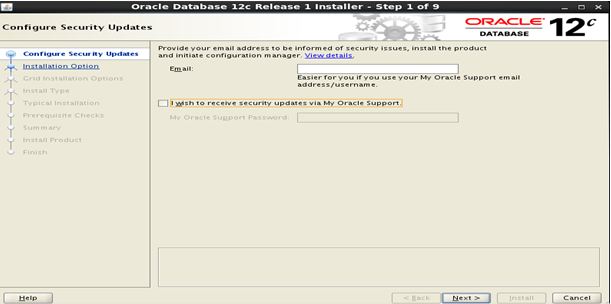
Step 5:- Skip the option for providing email address
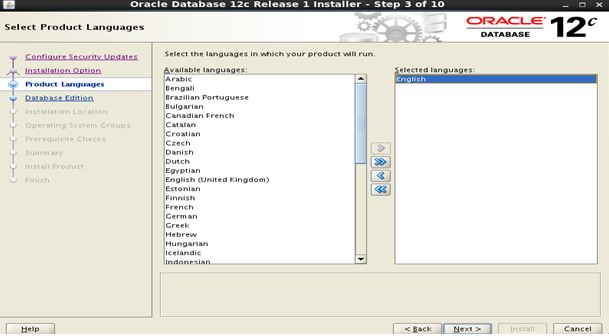
Step 6:- Select the option Install software Only and select English as language
Step 7:- Select the Enterprise edition of the oracle software 12c.

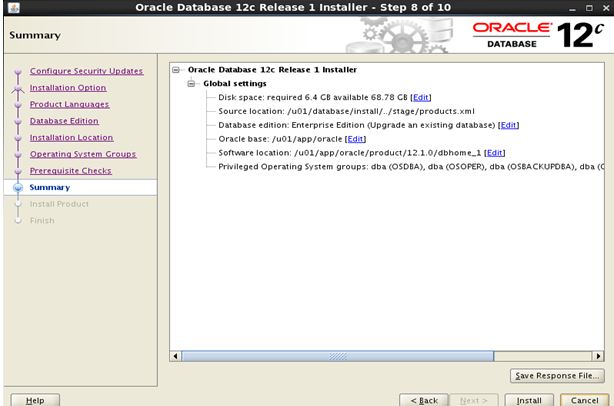
Step 8:- Select the ORACLE_HOME location to install Oracle 12c binaries

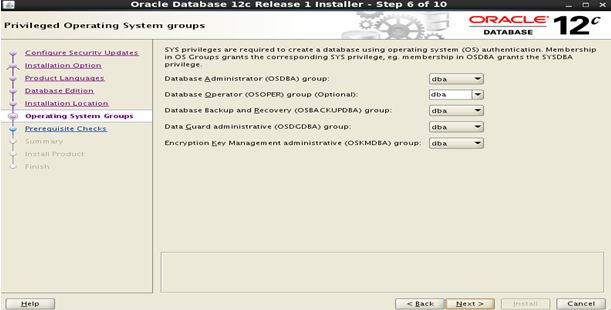
Step 9:- Select the privileged owner of the users and group.
Post checks:-
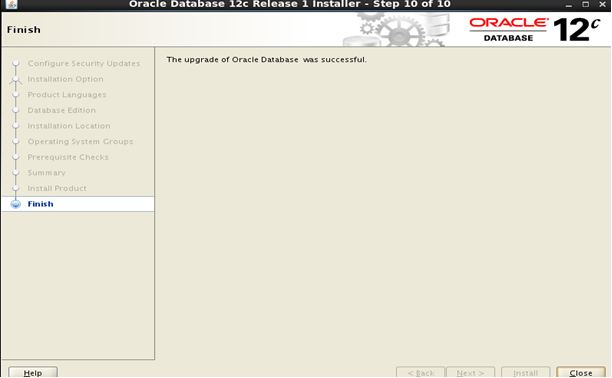
Step 10:- Select Install option to install oracle binaries.

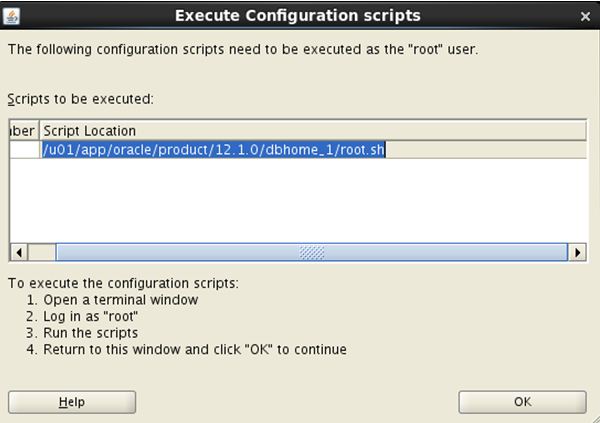
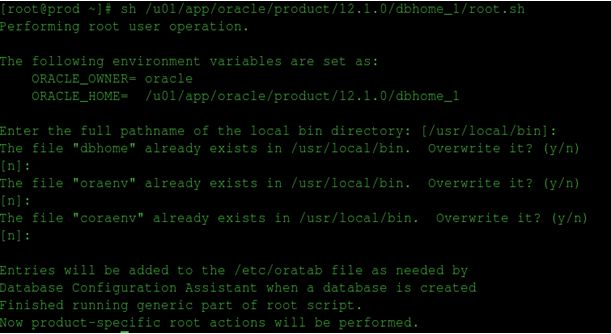
Step 11:- After installation of Oracle binaries,execute the script root.sh under ORACLE_HOME location.
Step 12:- Backup 11g database using RMAN
rman target /
run
{
backup database plus archivelog;
backup current controlfile;
backup spfile;
}
Step 13:- Stop the running 11g listener,
lsnrctl stop LISTENER
Step 14:- Run preupgrade tool and fixups
Oracle strongly recommends that you run the Pre-Upgrade Information Tool before starting the upgrade with DBUA. Although DBUA runs the Pre-Upgrade Information Tool as part of the pre-requisite checks, it is good practice to run the tool ahead of time in order to analyze the database and take actions that can decrease downtime for upgrading.
Run the Pre-Upgrade Information Tool script preupgrd.sql and utluppkg.sql from the Oracle Database 12c Release 1 (12.1) .
Connect to 11.2.0.4 database environment as SYS,
cd $ORACLE_HOME(12C ORACLE HOME)/rdbms/admin
sqlplus / as sysdba
SQL> @preupgrd.sql
cd $ORACLE_BASE/cftoollogs/$ORACLE_SID/preupgrade
sqlplus / as sysdba
SQL> @preupgrade_fixups.sql
Preupgrade results. Review preupgrade.log
If any warnings and errors, you can execute preupgrade_fixups.sql to get fixed.
Postupgrade steps:-
postupgrade_fixups.sql script that should be run after the upgrade.
If the “postupgrade_fixups.sql” file contained any recommendations, run
cd $ORACLE_BASE/cftoollogs/$ORACLE_SID/preupgrade
sqlplus / as sysdba
SQL> @postupgrade_fixups.sql
Step 15:- Take ddl backup of db_link backups
During the upgrade to Oracle Database 12c any passwords in database links are encrypted.
To downgrade to the original release, all of the database links with encrypted passwords must be dropped prior to the downgrade.
Step 16:- Run the 12c environment ORACLE_HOME,
prod()
{
ORACLE_HOME=/u01/app/oracle/product/12.1.0/dbhome_1
export ORACLE_HOME
ORACLE_BASE=/u01/app/oracle
export ORACLE_BASE
ORACLE_SID=prod
export ORACLE_SID
LD_LIBRARY_PATH=$ORACLE_HOME/lib:/usr/lib:.
export LD_LIBRARY_PATH
LIBPATH=$ORACLE_HOME/lib32:$ORACLE_HOME/lib:/usr/lib:/lib
export LIBPATH
TNS_ADMIN=${ORACLE_HOME}/network/admin
export TNS_ADMIN
PATH=$ORACLE_HOME/bin:$PATH:.
export PATH
}
DBUA Upgrade from 11.2.0.4 to 12.1.0.1:
$ dbua
Step 17:- In this screen, select the Upgrade Oracle Database option, then click the “Next” button.

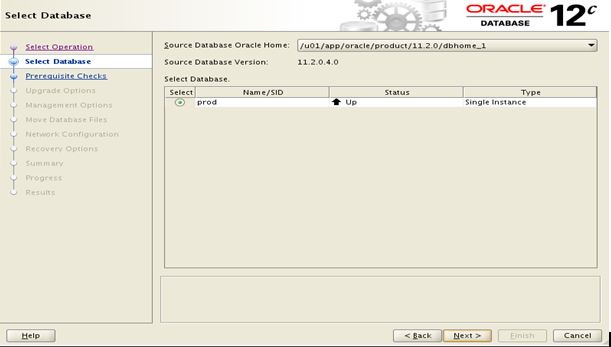
Step 18:- Select the database you wish to upgrade and click the “Next” button. If you do not see your database listed here, please add an entry in “/etc/oratab” as shown above.
Step 19:- If the prerequisite checks highlight any issues, take the appropriate action to fix the issues. If all the prerequisite checks are passed, click the “Next” button.

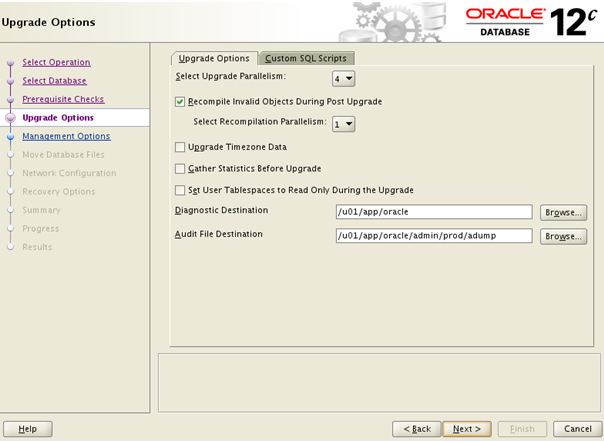
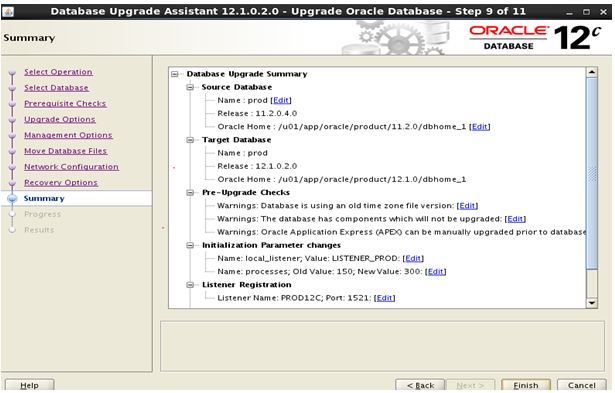
Step 20:- Amend the upgrade options if necessary, then click the “Next” button.
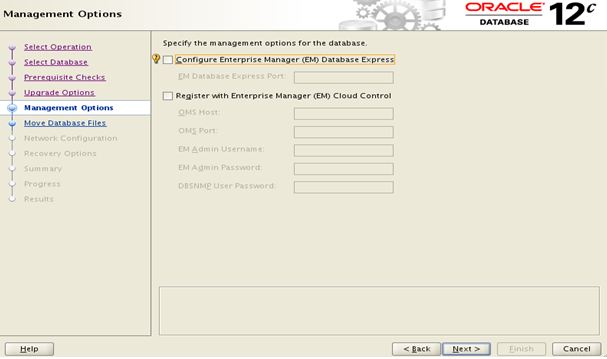
Step 21:- Select the desired management options, then click the “Next” button
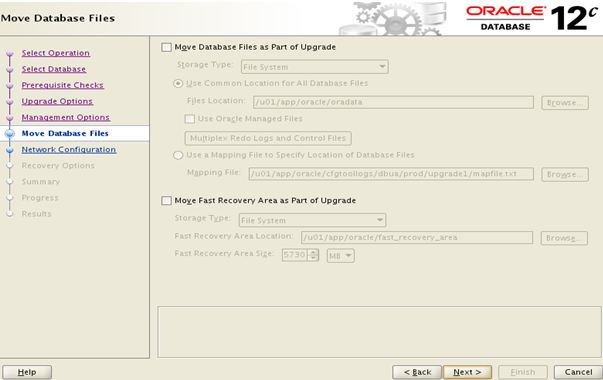
Step 22:- If you need to move the database files and/or the fast recovery area from file system to ASM or vice versa, check the relevant option and enter the destination. Click the “Next” button.
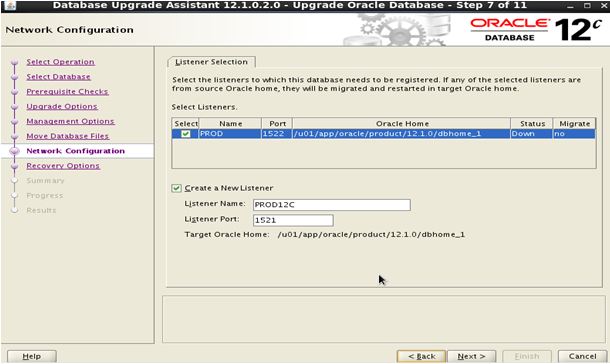
Step 23:- If this database is the only one using the 11g listener, accept the defaults, so the listener will be upgraded. If you prefer to manually define a new listener, you can do that now too and click the “Next” button.
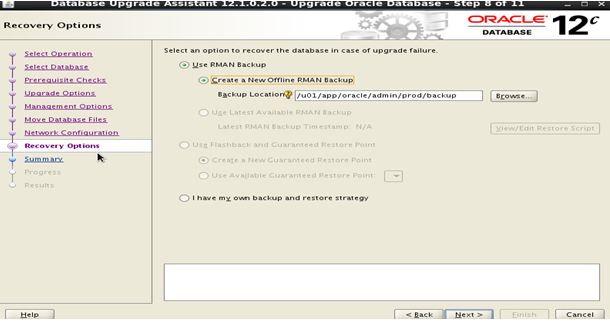
Step 24:- Select the recovery options for use in the event of an upgrade failure, then click the “Next” button.
Post checks for upgrade:
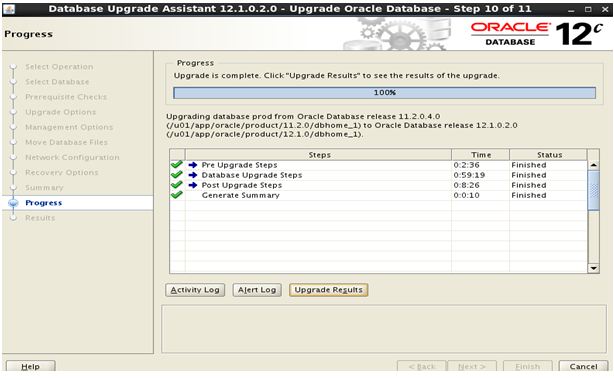
Step 25:- When the upgrade is complete, click the “Upgrade Results” button.
Step 26:- Check the upgrade results, then click the “Close” button to leave the DBUA. Here you can optionally restore the database to old version by clicking on “Restore Database”.
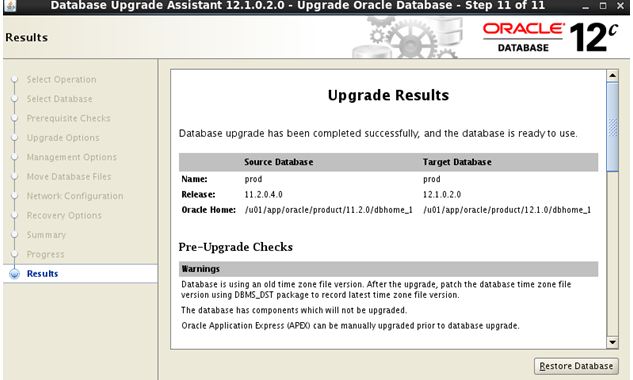
Step 27:- Now the database upgrade is complete and the database is ready for normal use.

Step 28:- Check the database version and status
Catch Me On:- Hariprasath Rajaram
LinkedIn: https://www.linkedin.com/in/hari-prasath-aa65bb19/
Facebook: https://www.facebook.com/HariPrasathdba
FB Group: https://www.facebook.com/groups/894402327369506/
FB Page: https://www.facebook.com/dbahariprasath/?
Twitter: https://twitter.com/hariprasathdba