Description:-
In this article we are going to see how to Create a vm Instance for Oracle Database In Oracle Cloud Infrastructure(OCI).
Database Creation on Create a VM Instance (Compute Cloud) (Click here)
High Level Steps:-
1)Create a new pair of Public and Private key pair require to upload using PUTTYGEN. (Check Here).
2)Lunch the Create Instance wizard from the web console to create your instance.
3)Choose an operating system or image source is oracle images
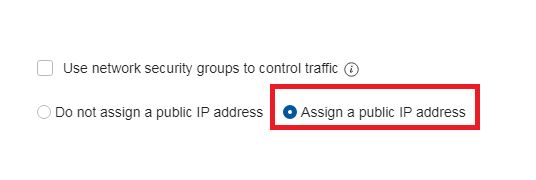
4)Assign a public ip address
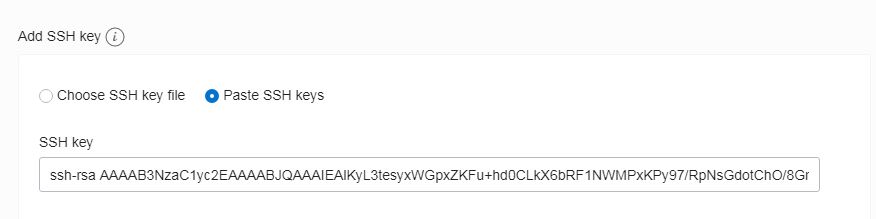
5)Add SSH Key
6)Create a VM instance
Create the VM instance! (login into oracle cloud)
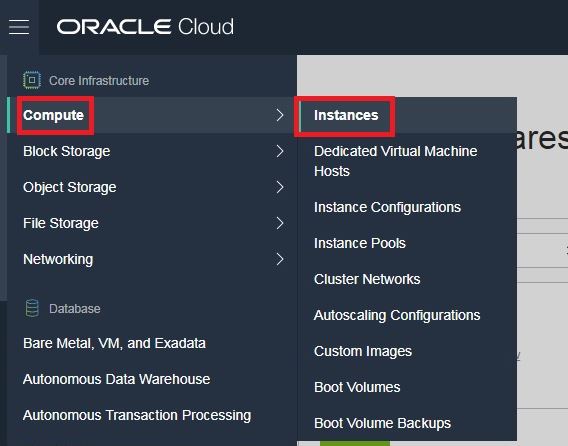
Step:-1 To create a new VM instance, on the main menu click Compute, then select Instances.
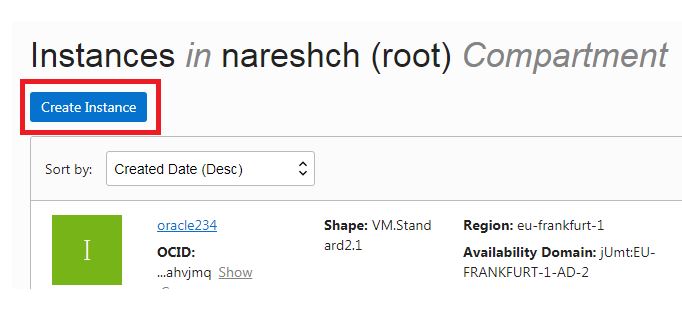
Step:-2 Click Create instance
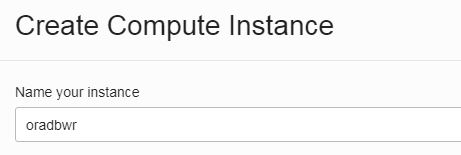
Step:-3 In the Create Compute Instance page use the information below and click and Create
Name your instance: oradbwr
Click change image source
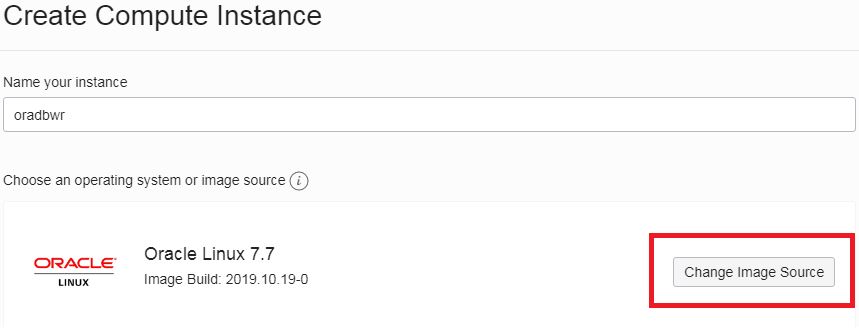
Browse All Images-oracle images

Click oracle Database
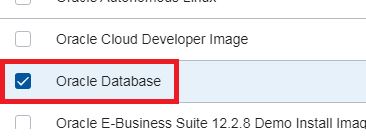
Accept Agreement and click select image

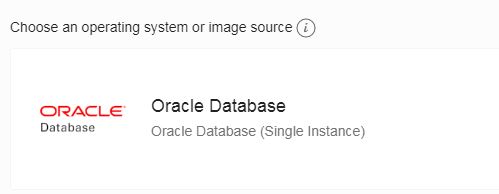
Now you can see Choose an operating system or image source is oracle database
Step:-4 Now click Shape,network and storage options

Click public ip address
Add SSH KEY(which you generated before starting the VM instance using puttygen)
Click Create button

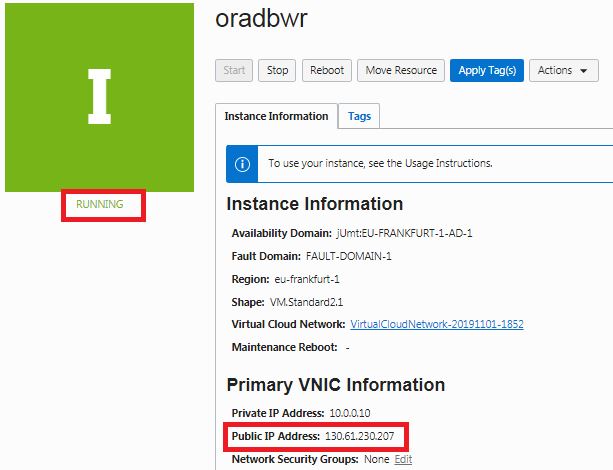
The new instance has been created successfully and has a public IP address.
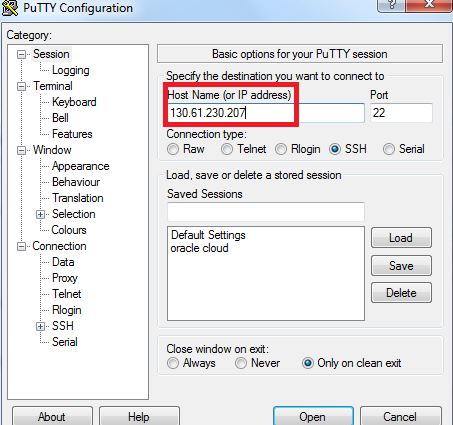
Step:-5 Configure SSH Tunnel to Putty
The SSH Tunnel is established using the Putty Tool – alternatives will be discussed later in this tutorial. Use the public IP address of the created VM and give it the session a name.
Next expand the session tree on the left hand side and select the category “Data” in the “Connection” branch. Per default Oracle Cloud VMs are configured with the user opc. For easier login enter “opc” in the Auto-login username field.

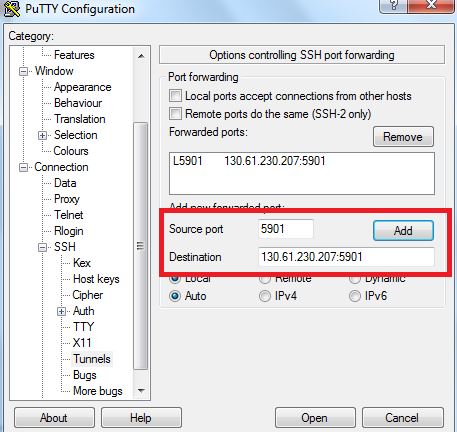
Expand the “SSH” branch and select “Tunnels”. Here enter 5901 as source port and the Public IP of the VM in the format 1.1.1.1:5901. Here 5901 is the destination port. Click add.
All VNC traffic is routed through this SSH tunnel on Port 22, hence no additional port needs to be opened via Security Lists.
Next navigate to “Auth” in the “SSH” branch and point to the private key that has the authentication information as provided during the provisioning of the VM.

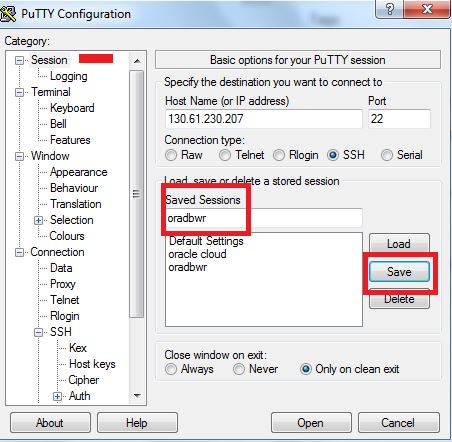
Finally navigate back to the “Session” category. Press the “Save” Button and then press “Open” to establish the connection.
Login into Oracle Cloud VM instance
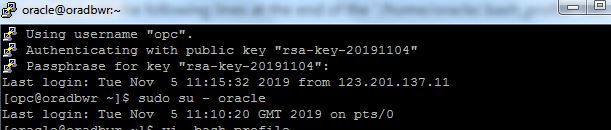
Enter the .bash_profile
[oracle@oradbwr ~]$ cat .bash_profile
# .bash_profile
# Get the aliases and functions
if [ -f ~/.bashrc ]; then
. ~/.bashrc
fi
# User specific environment and startup programs
PATH=$PATH:$HOME/.local/bin:$HOME/bin
export PATH
export TMP=/tmp
export TMPDIR=$TMP
export ORACLE_UNQNAME=cdb1
export ORACLE_BASE=/u01/app/oracle
export ORACLE_HOME=$ORACLE_BASE/product/18c/dbhome_1/
export ORACLE_SID=cdb1
export PATH=/usr/sbin:$PATH
export PATH=$ORACLE_HOME/bin:$PATH
export LD_LIBRARY_PATH=$ORACLE_HOME/lib:/lib:/usr/lib
export CLASSPATH=$ORACLE_HOME/jlib:$ORACLE_HOME/rdbms/jlib
[oracle@oradbwr ~]$ sqlplus
-bash: sqlplus: command not found
[oracle@oradbwr ~]$ . .bash_profile
Ready to use 18c :
Note:-We need to create database using manual method or DBCA.
DBCA means we need to install VNC server.Next post i am going to create database using DBCA
[oracle@oradbwr ~]$ sqlplus
SQL*Plus: Release 18.0.0.0.0 – Production on Tue Nov 5 11:16:55 2019
Version 18.7.0.0.0
Copyright (c) 1982, 2018, Oracle. All rights reserved.
Enter user-name:
Connect with me:-
Telegram App:https://t.me/oracledbwr
LinkedIn:https://www.linkedin.com/in/hariprasathdba
Facebook:https://www.facebook.com/HariPrasathdba
FB Group:https://www.facebook.com/groups/894402327369506/
FB Page : https://www.facebook.com/dbahariprasath/?
Twitter : https://twitter.com/hariprasathdba