Description :-
In this article we are going to see step by step Build Oracle 19c Dataguard Configuration on Oracle Cloud Vm Machine
Below link to complete oracle 19c step by step creating oracle 19c dataguard
Step:-1 Oracle Cloud-Build VM Machine For Oracle 19c Dataguard Configuration
Step:-2 Oracle Cloud-Preparing To Create A Oracle 19c Dataguard
Step:-3 Oracle Cloud-Deploying Oracle 19c Data Guard Physical Standby
High level steps:-
1)Create a new pair of Public and Private key pair require to upload using PUTTYGEN. (Check Here).
2)Lunch the Create Instance with oracle images
3)select virutal cloud network
4)Assign a public ip address
5)Add SSH Key
6)Create a VM instance
Key points check here
Build Primary server:- PROD121
Create the VM instance for oracle 19c dataguard configuration (login into free oracle cloud)
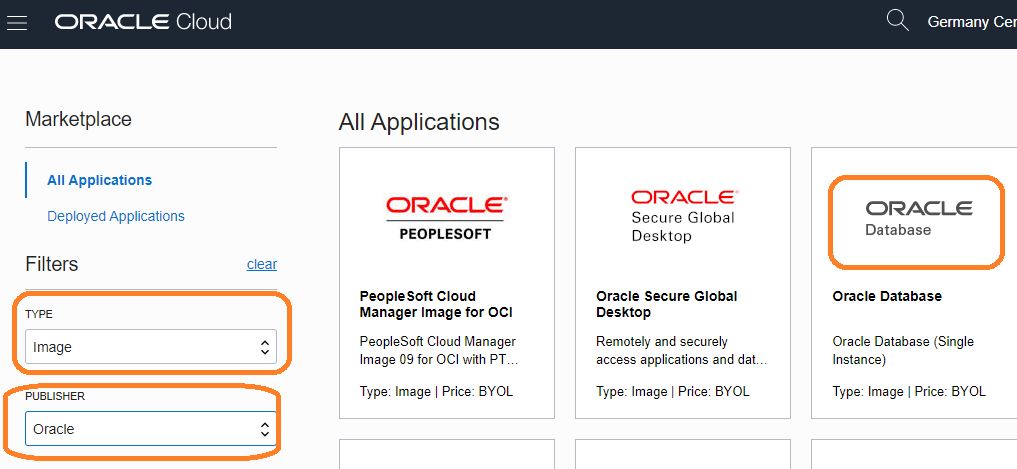
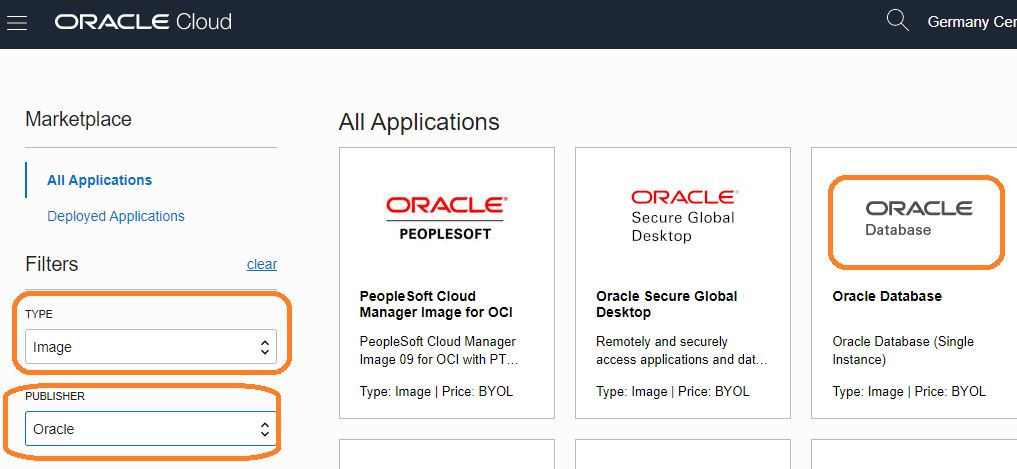
Step:-1 To create a new VM instance, on the main menu click Compute, then select marketplace
Step:-2 On the filters select image -> oracle -> oracle database
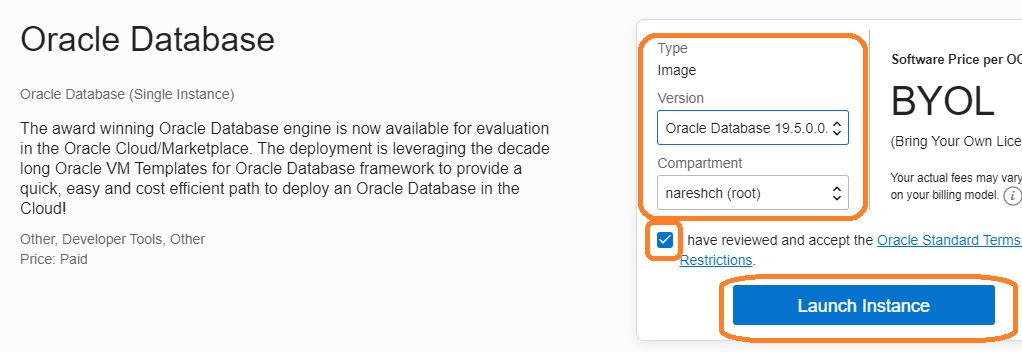
Drop down version select 19c,compartment and launch instance
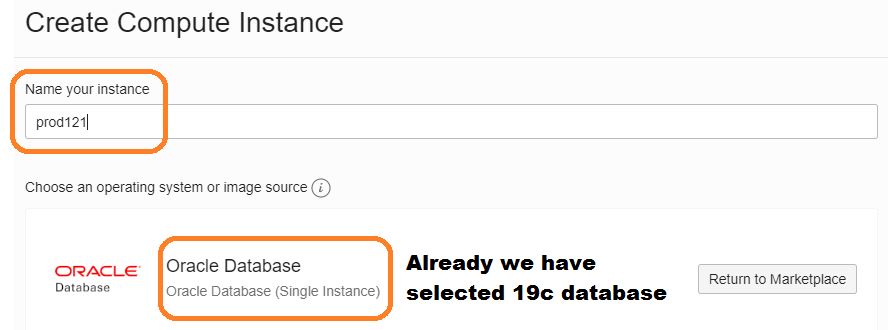
Step:-3 Enter instance name. double check oracle image is selected
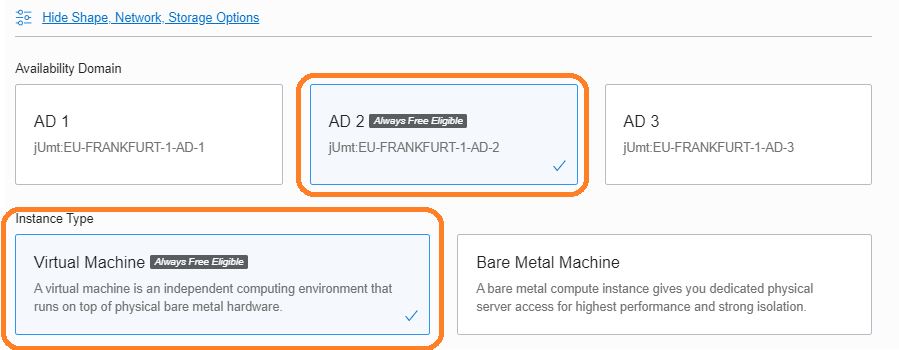
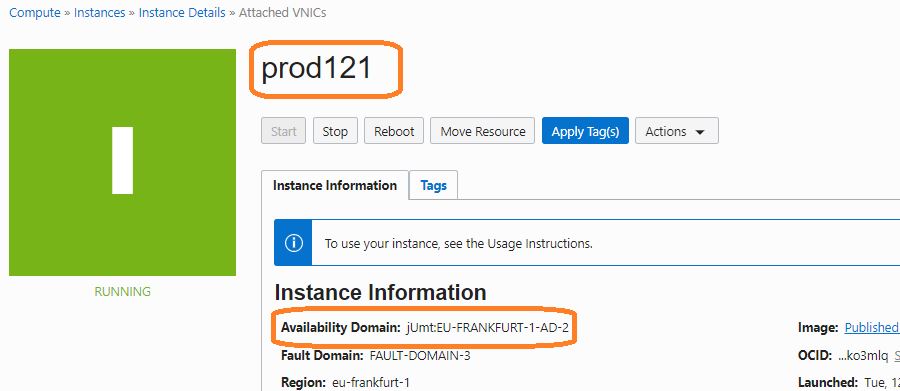
Step:-4 Select Domain and instance type (here we are going to build two different AD primary and standby)
Step:-5 Click the change shape button and select VM shape
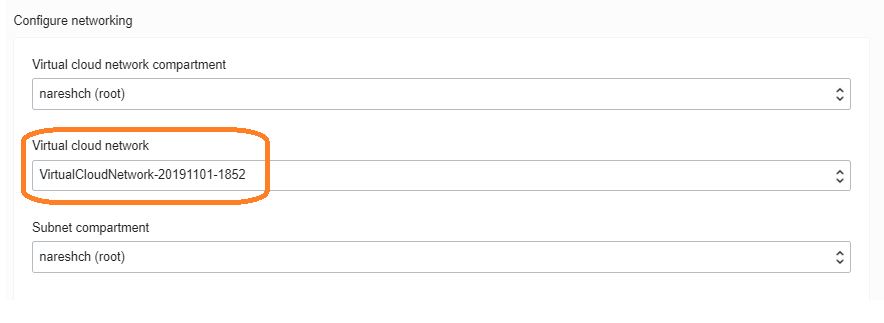
Step:-6 Select default VCN
Networking -> Virtual Cloud Networks -> VirtualCloudNetwork-20191101-1852 -> Security List Details -> allows
all protocols for internet access. (Recommended network setup is always to use private subnets)
Step:-7 Click public ip address
Step:-8 Leave as it is Boot Volume
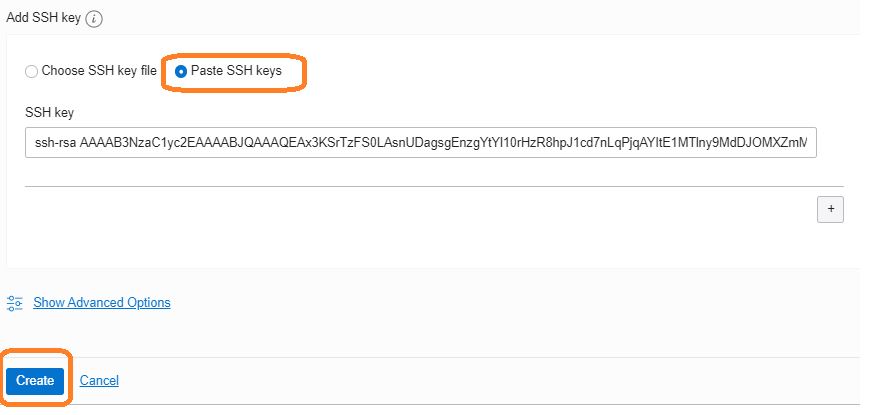
Step:-9 Paste public key and click create
Note:-Create a new pair of Public and Private key pair require to upload using PUTTYGEN. (Check Here).
Step:-10 primary server is ready for use (PROD121).
Step:-11 Login to PROD121 server
Build Standby server:- PROD122
Create the VM instance for oracle 19c dataguard configuration (login into free oracle cloud)
Step:-1 To create a new VM instance, on the main menu click Compute, then select marketplace
Step:-2 On the filters select image -> oracle -> oracle database
Drop down version select 19c,compartment and launch instance
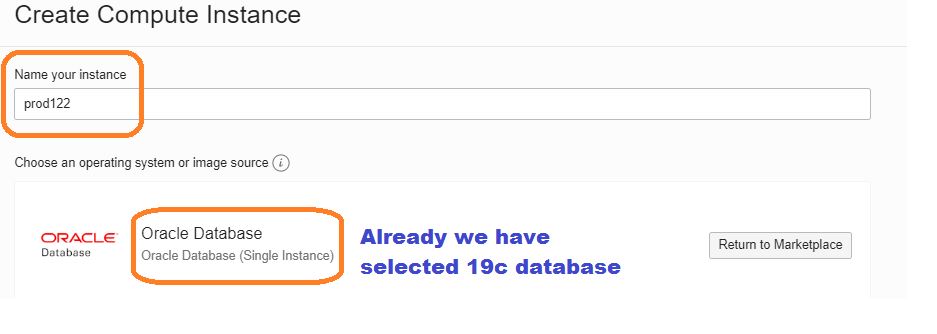
Step:-3 Enter instance name. double check oracle image is selected
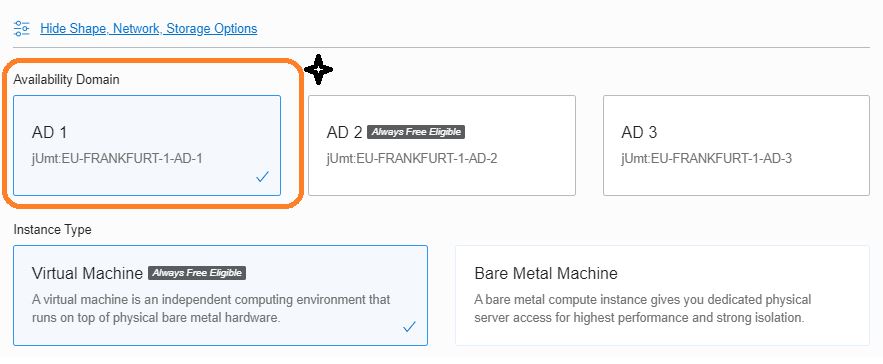
Step:-4 Select Domain and instance type (here we are going to build two different AD primary and standby)
Step:-5 Click the change shape button and select VM shape
Step:-6 Select default VCN
Networking -> Virtual Cloud Networks -> VirtualCloudNetwork-20191101-1852 -> Security List Details -> allows
all protocols for internet access. (Recommended network setup is always to use private subnets)
Step:-7 Click public ip address
Step:-8 Leave as it is Boot Volume
Step:-9 Paste public key and click create
Step:-10 standby server is ready for use (PROD122).
Step:-11 Login to PROD122 server
Both the servers is ready to build standby database
Connect with me:-
Telegram App:https://t.me/oracledbwr
LinkedIn:https://www.linkedin.com/in/hariprasathdba
Facebook:https://www.facebook.com/HariPrasathdba
FB Group:https://www.facebook.com/groups/894402327369506/
FB Page : https://www.facebook.com/dbahariprasath/?
Twitter : https://twitter.com/hariprasathdba


